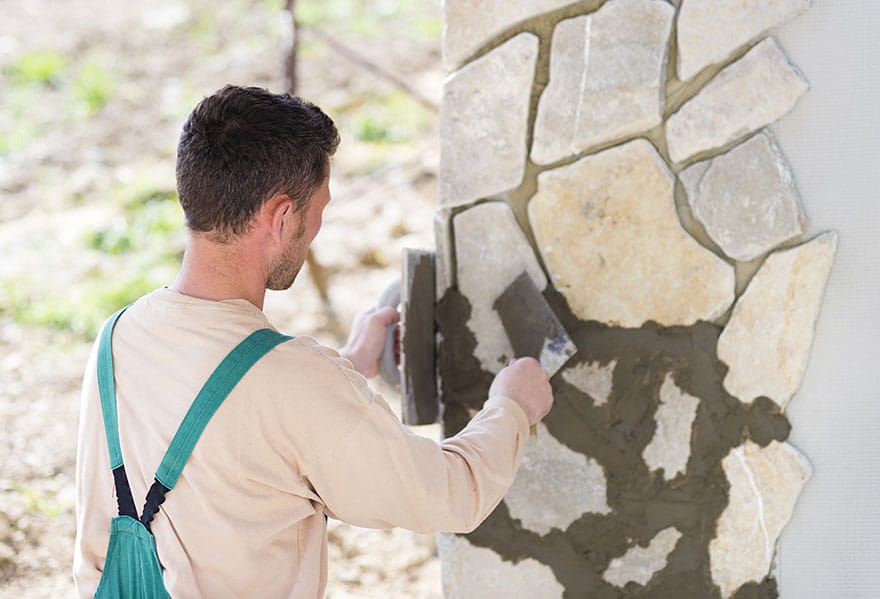
This is uncomplicated, but it should be done carefully, using the appropriate tools and materials to avoid brick damage and totally compromise the wall’s integrity and appearance. That means choosing the proper hand tools and there are lime mortars like the ones they used 100 years ago. You can try asking a masonry contractor about maintenance, but you should also know about it.
No matter how beautiful the brickwork is, a mortar was used to seal it, so they are held together. Therefore, when mortar begins to crack, fall out, and recede out of the joints, it is time to take a chisel and get rid of the old stuff, then use a trowel to spread the new one which is a process known as repointing.
Repairing mortar joints
Tools: chisel, heavy hammer, garden hose, safety goggles, sharp trowel, jointer, scrub brush
Materials: mortar, coloring for mortar, corrugated cardboard with matching colors
Rake out bad mortar joints
With a depth of about ¾ inches, scrape the horizontal joints. You can use a tipped grout saw, which works well on “butter joints” that are ¼ inch wide. If you are not trained to use motorized angle grinders, do not use them. There is a tendency that they will disfigure the brick if you make a mistake in using it.
Clean it
You can use a scrub for the joints in the brick, but that takes lot of time energy and time. You can opt to rent a pressure washer because this one works as a strong jet of water to clean the brickwork right away.
Wash the wall
Use a scrub brush to whisk away all the crumbly debris, and then check if the blade of the trowel can fit inside the joint. If the blade’s width is too much, use an abrasive wheel to grind it. Wet the wall using water until bricks are all damp and begin to drip. This is important because dry materials are going to suck the new mortar’s moisture and keep it from properly curing. You would have to wait for 1 more day before filling out the joints.
Purchase the mortar mix
This process is also called repointing and sometimes you can buy a mortar mix that is specifically for this type of work at a store selling masonry supplies. If you do not find it there, purchase the mix with the highest quality. You will not regret spending more to get the best type of materials. Of course, you want the replenished mortar joints to last, and that is not possible if the mortar mix is poor quality.
How to apply the mixture
The product should be mixed according to what is written on the instructions that came with the package. Take the grout bag and fill it with mortar because by using this bag, you will have better accuracy and lesser mess compared to a trowel. Then, insert the grout bag’s tip into the 1st joint, while squeezing the mortar into the voids of the joint until everything is filled. Do not overfill the joint so that when you are going to strike the joint, the mortar is not unintendedly forced into the brick or block’s face.
Hiring mason
If you feel that the mortar is already dry enough to touch, brush with a diagonal stroke across the surface to get rid of any dry mortar crumbs. When you are done with this, use a sponge to remove any mortar residue off the bricks. In the next 3 days, use a tarp to cover it because the joints are still soft, and they need to be protected from the rain, wind, or sun. You also must mist the wall daily, so the moisture will be retained. There will be excess material that will drop away and others will need light scraping. If you need to scrape away the excess mortar, the jointing should be turned to its side before moving the tool from left to right. If you see a mortar on the face of the bricks, use the steel brush to remove the mortar before it is completely dry. Follow these steps to maintain the joints or call retaining wall contractors. lagras


