Cutting down a tree between two houses is a risky task. If the tree is small, you should not have a problem bringing it down but if it is something that has overgrown the houses themselves, you will need to be extra careful or hire tree removal companies. So, let’s discuss some tips that will help you remain on the safe side if you have come across a slightly complicated tree felling situation.
Step 1: Clear The Area
The first thing you need to do before you can begin cutting down a tree between two houses is clear the area. You need to make sure every valuable item, tool, or equipment should be temporarily shifted to another area to reduce the risk of injury in case branches or tree sections happen to fall. At the same time, remove the cars, bicycles, and bikes and move the pets and kids indoors.
Furthermore, if you are facing a situation that concerns your neighbors as well, you should let them know beforehand so that they can make arrangements accordingly. Once the area has been cleared, inspect the tree and trim it down first.
Step 2: Cut The Lower Branches
To trim the tree the right way, you must cut down the lower branches first. The reason is that the lower branches of most trees are longer than the upper branches. Therefore, they tend to be comparatively dangerous as well. That said, use a chainsaw that will easily cut through the branches.
Moreover, while cutting the lower branches, first make an undercut by moving the chainsaw from under the branch and then saw downwards from above. This allows the tree branch to fall cleanly without breaking or splintering. And if you find that the larger branches may cause damage while falling, control them using a rope.
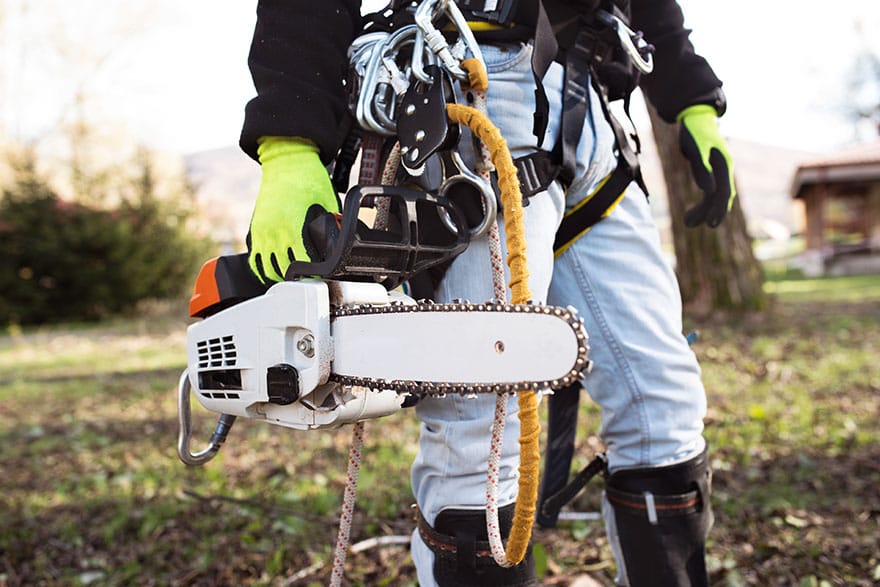
At the same time, keep in mind that even though a chainsaw gets the job done in a few minutes but is also a very dangerous machine. There have been several incidents in the past where people have lost their limbs due to not wearing safety equipment. That said, make sure you wear safety equipment first and run a few tests to make sure it is working properly.
Step 3: Remove Upper Branches
Now that you are done cutting the lower branches, it is time to remove the upper branches. For this task, you will need to grab an extension ladder and secure it against the tree. Instead of carrying the saw in hand while moving up, you should tie it with a rope and pull the rope and haul the saw up. At this point, you will need all the protection and safety you could ensure. For instance, if you plan on using the extension ladder, use a rope and tie it against the tree to prevent the ladder from slipping while you work.
Then again, if you come across some relatively heavier and bigger branches, you will need to secure them using a rope as well so that they do not fall on you or damage the surroundings. If possible, ask a friend or a relative to provide a helping hand so that you can safely bring the branches down later on.
Step 4: Fell The Trunk
Once all the branches and limbs of the tree have been cut, all you are now left with is the tree’s trunk. This is the last and the most important part of the process, which you need to get right. Using a chainsaw, cut a right-angle notch in the direction where you want the tree to fall. Make sure the area is clear and plan an exit route if something goes wrong.
In addition to that, if the trunk is too large and heavy, you should try cutting it into sections. It will take longer but will be safer. And finally, as you make the felling cut, ask your helping hand to haul on the rope to make the tree fall in the planned direction. However, do not stand directly below the tree or near the felling area.
Final Word
In the end, cutting down a tree between two houses requires skills, patience, and planning. Take your time while cutting down the tree and ask for a helping hand just to be on the safe side. And if the tree happens to be too large for you to handle, make sure you consult tree cutting services Potomac to help you with the task.


